

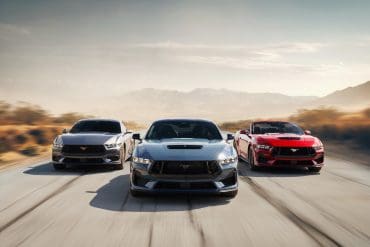
Ford Offers An Optional Matte Clear Film For Their 7th-Gen Mustangs
Provides a smooth, satin finish straight from the factory.
Ford Mustang Data, News, Lifestyle, & More
The Richest Source of Ford Mustang Data, Specs, & Model History Online
Whether You Want To Do Research On a Specific Mustang Model Or Just Keep Up to Date on All Things Mustang, This Is The Place for You. If you're a fan of unbridled, all-American horsepower or dreamed of owning your own Pony car - the revolutionary Ford Mustang - you are in the right place! We built Mustang Specs to be your single resource for all things related to the Ford Mustang. Enjoy.
Latest Mustang News & Posts

Shelby has long been synonymous with automotive excellence, with Carroll Shelby himself leveraging his racing expertise to craft high-performance vehicles. Renowned for his prowess...
In 2008, Roush broke away from its typical approach of simply bolting a supercharger onto an existing engine by unveiling the Roush Performance P-51A...
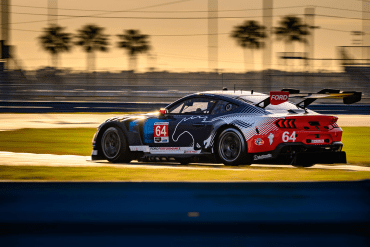
In 2024, Ford has ventured into the global FIA GT3 category. Teaming up with Multimatic Motorsports, Ford Performance introduced the highly anticipated and fiercely...

To celebrate 40 years of Mustang, Ford introduced the retro design fifth-generation Mustang for 2005, which paid homage largely to the 1967-69 Mustang. The...
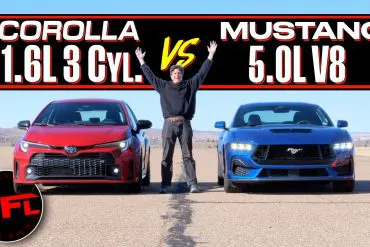
Can the Toyota GR Corolla hope to beat a 2024 Ford Mustang GT in a drag race? That is what we are about to...

Ford’s venture into electrification started with the released of the Mustang Mach-E in December 2020. By 2024, this dedication has evolved, evident in the...

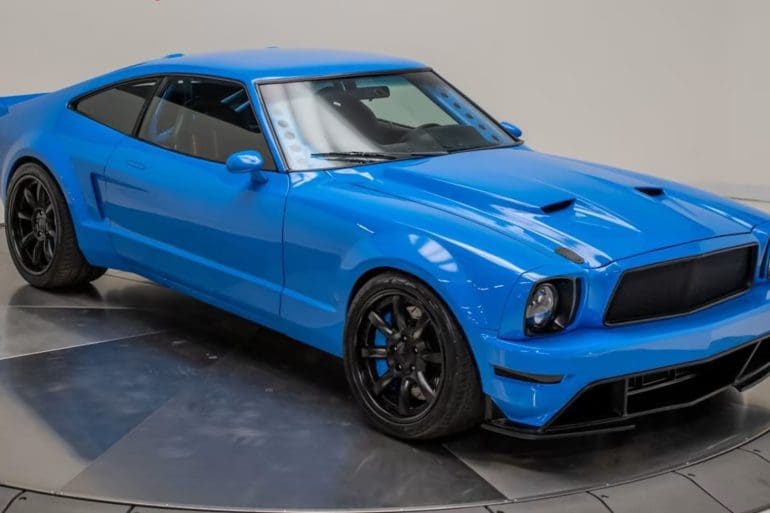
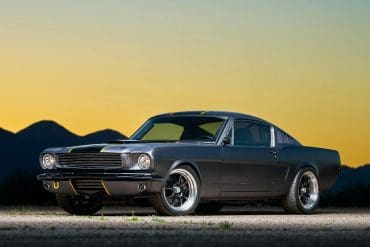
Ruffian Cars, located in the bustling streets of Los Angeles, is known for their restomods that embodies meticulous craftsmanship and innovative design. One of...

In 1965, Carroll Shelby transformed the Ford Mustang from a mundane “secretary’s car” into a formidable racing contender. The triumphs of the Shelby GT350Rs...

Since the 1960s, Shelby has been synonymous with exhilarating, limited-production performance cars. In 2006, Shelby returned to the Mustang scene, introducing the GT500 to...

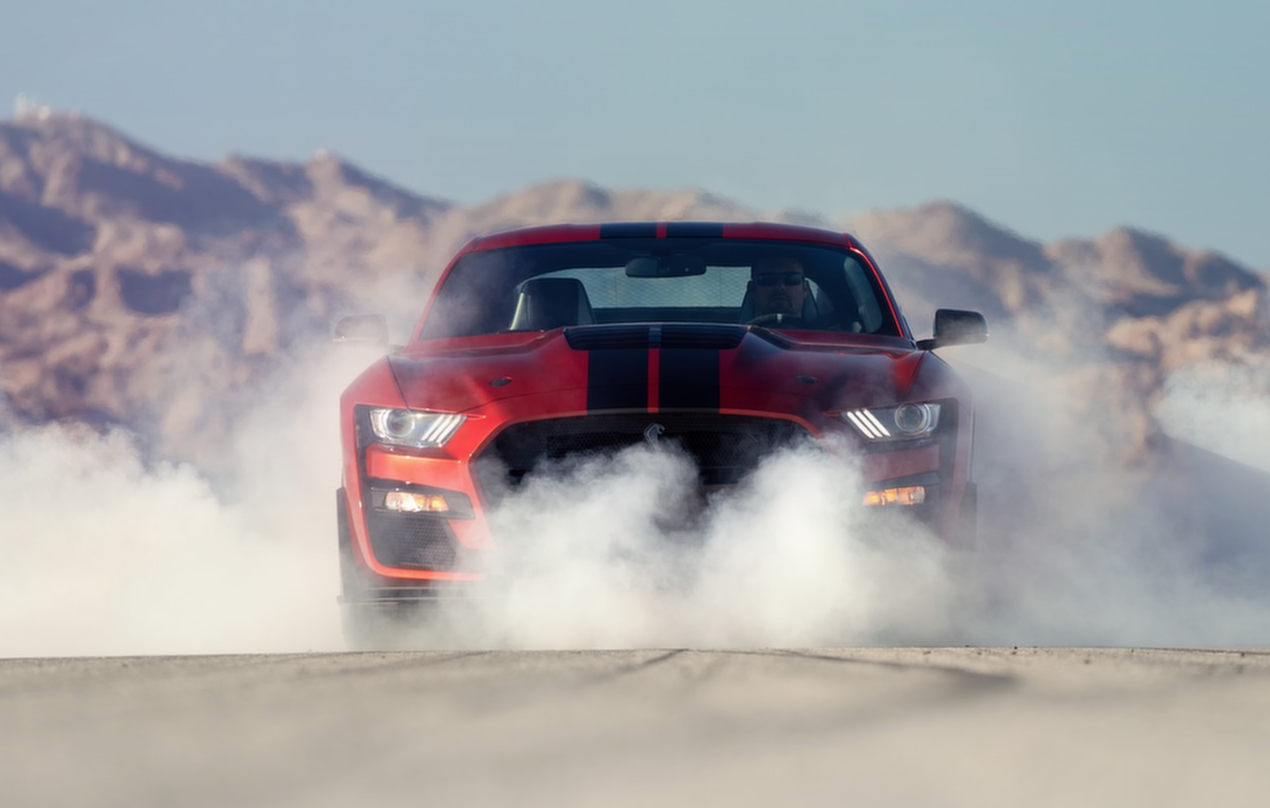
Launched in 2020 as the most powerful and quickest street-legal Mustang ever made, the Shelby GT500 revolutionized the brand’s legacy with unprecedented power and...

Ford’s legacy with the Boss 302 Mustang extended into 2014 with the release of the limited-edition Boss 302S, a track-focused powerhouse. While the 2012...
It was way back in 1966 that Carroll Shelby partnered with Hertz Corporation to create 1,000 GT350H “Rent-A-Racer” fastback coupes, following a line of...

Few names evoke as much reverence and excitement as the Shelby GT500. Revered for its raw power, timeless design, and legendary status, the GT500...

Hertz teamed up legendary racing team, Team Penske, to introduce a limited edition of 150 distinctive black and yellow Hertz-Penske Mustang GTs, available for...

The fifth-generation Mustang, unveiled in 2005, reintroduced the iconic muscle car styling reminiscent of Lee Lacocca’s original design from 1965. This revival brought with...
All Mustangs. All Years.
Ford Mustang Research
Our research hub is your go to resource for all things Mustang data. From history to specs to performance data and even color codes, we have it all.
Research Hub

For automotive enthusiasts, brand loyalty often runs deep. But what happens when a die-hard Mustang fan gets the chance to experience the latest Corvette?...
Ford recently revealed that the Mustang has maintained its status as the world’s best-selling and most beloved sports car for the past decade, as...

In the automotive world, collaborations often bring out some of the most unique and exciting creations. One such collaboration that has caught the attention...
Sixty years ago, Ford premiered the original Mustang at the World’s Fair in New York. Now, in April, the Mustang saga enters its next...
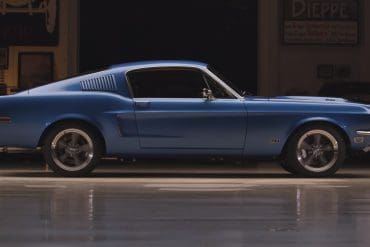
This 1966 Ford Mustang fastback underwent an extensive refurbishment, with work included notable upgrades such as a Ford 408ci stroker V8 engine paired with...
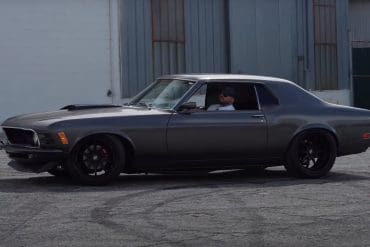
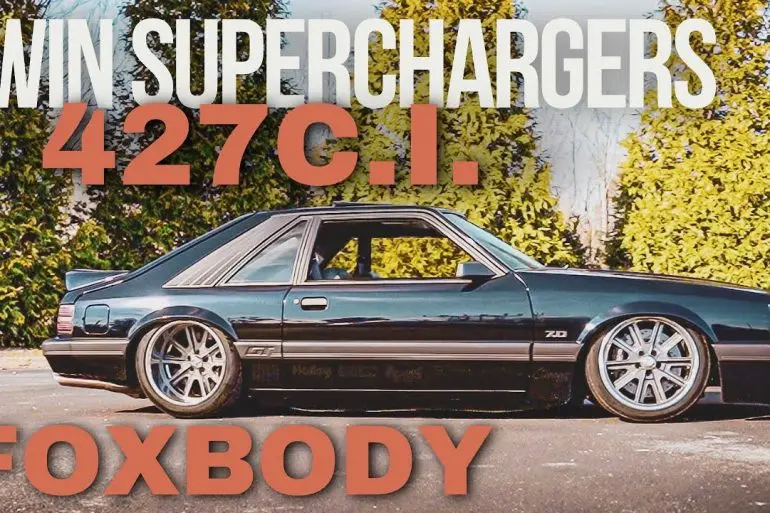
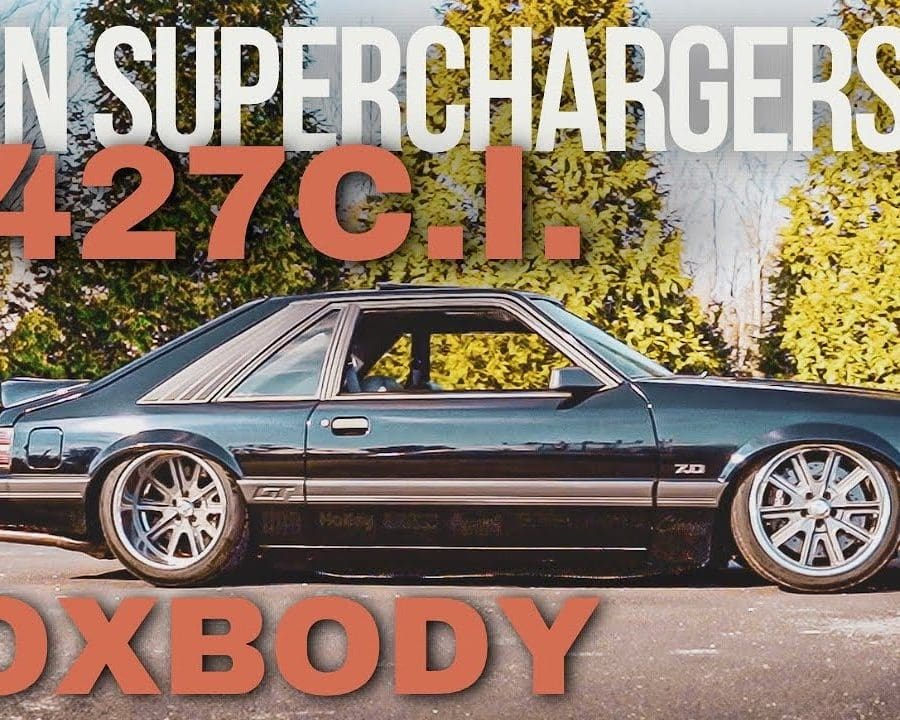
Shawn Davis, the host of AutotopiaLA YouTube channel is back again with a very cool car that stands out as a beacon of generational...

In 1968, Shelby automobile production shifted to Michigan under Ford control, prompting comprehensive updates to the GT500 with new aggressive styling cues. Convertible variants...

If you’re a Ford Mustang GT owner seeking more power than the stock 460 horsepower, RTR Vehicles has the solution with their Spec 5...
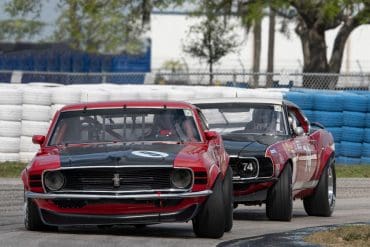
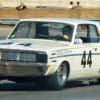
Photography by Chuck Andersen. Mustangs took to the track at this year’s HSR Spring Fling, hosted at Sebring International Raceway from March 8 to...
In the world of classic cars, there’s often a delicate balance between nostalgia and modern performance. However, a recent phenomenon in the automotive industry...

The Mustang GT500, already renowned for its impressive 5.2L supercharged V8 and rapid dual-clutch transmission, stands out as one of Ford’s top offerings. However, for...

The Ford Mustang has long been an icon of American automotive prowess, captivating enthusiasts with its blend of performance, style, and heritage. From its...

At the 2023 SEMA show, Ford Performance unveiled a performance package for the seventh-generation Ford Mustang. This package will increase the Ford Mustang’s 5.0-liter...

Remaining faithful to its name, the Dark Horse is an unexpected addition to the Mustang lineup, arriving earlier than expected. Essentially, it functions as a performance...

The 2021 Shelby GT500 King of the Road (KR) made its long-awaited return with Ford’s 5.2L Supercharged V8 cranked up to a whopping 900...
See more